
In this article, we will explain to you how to create a special iPhone ringtone for free without a computer and without iTunes and a way to change the iPhone ringtone in iOS. Follow with me on how to set ringtone in iphone without iTunes.
Are you looking for a way to easily change iPhone ringtones without iTunes ?
Are you looking for how to easily add ringtones to iPhone without iTunes ?
◆ What do you need before you set an iPhone ringtone without iTunes?
Before we move on to the steps, there are some basic requirements:
- The ringtone must be saved in the iPhone’s music library or in the Files app. It is worth noting that you cannot use protected ringtones or songs (such as from Apple Music).
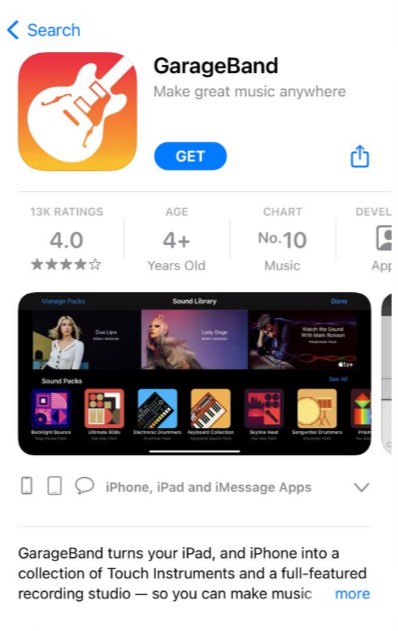
- You will need to download and install the free GarageBand app from the App Store.
Now, let’s move on to the next steps:
◆ How to set ringtone in iPhone without iTunes?
In order to explain how to set a ringtone on the iPhone without a computer or iTunes, we should download any ringtone from the website. You can enter any website or source of your choice and download any ringtones you want.
1. Launch the GarageBand app on your iPhone.
- Drag and search for Audio Recorder or Audio Recorder from the options, click on the audio (microphone icon).
- Then click on the icon that looks like a wall to enter the editing section.
- Tap on the icon that looks like an episode, you’ll see three subtitles here – Apple Episodes, Files, and Music.
- Find the tone you want as your iPhone ringtone, if you can’t see the tone, tap Browse Items from the Files app to find it, and hold on to import it on the editor.
- To modify the tone, drag the long vertical bar to the desired starting point of the custom ringtone. You can use the play button to check the perfect starting and ending point for your tone.
- Once done, double click on the tone and select Split.
- Drag the scissors icon down to cut and split the tone at your chosen points.
- Delete the unusable part of the tone by double clicking on it and then selecting Delete.
- Now, click on the arrow icon from the top left corner and click on My Songs.
- Tap and hold on the project or My songs and select Share from the menu.
- Here, click on the Ringtone option, then continue, name the tone as per your choice and then click on export.
- Once the process is complete, click Use sound as to set it as a live ringtone or OK to do it later.
https://www.youtube.com/watch?v=87fVrH5Lpl0
Note: During export, iPhone automatically trims the ringtone to 30 seconds. If you want to set an endpoint somewhere 30 seconds ago, repeat steps 6 through 9.
◆ How to set ringtone in iPhone without iTunes manually?
If you selected OK previously or you want to use your custom ringtone again, follow these steps:
- Go to Settings -> Sounds -> Ringtones.
- An iPhone ringtone that you recently created with GarageBand will be displayed at the top of the list under Ringtones.
- Tap on it to set it as a ringtone.
Thus, we have finished setting a ringtone for the iPhone without a computer or iTunes.
◆ FAQs
How to change custom alarm on iPhone without iTunes?
You can use iRingg to create and customize iPhone ringtones without iTunes. This will send your new tone to the Sound Settings on your iPhone, on top of the default tone.
With iRingg, you can add special effects and transfer your new ringtones over Wi-Fi. It will transfer any ringtone without losing quality in a few seconds. The entire ringtone creation process can take up to a few minutes if you want to add extra effects and trim your tone.
How to make iPhone MP3 ringtones without iTunes?
iRingg is the best app for creating custom iPhone ringtones, and you don’t need iTunes for that. It helps you add special sound effects, fade-ins or fade outs to create personalized ringtones. It also allows you to cut it to the desired length. iRingg sends your new tone to your native Settings app, in the Sounds section. It will appear above the default ringtone so you will easily find it.
How do I turn a voice memo into a ringtone?
You can add the recorded sound as a file on your computer and use the .m4r extension for it. Then, transfer this file using WALTR 2 and it will appear in your iPhone Sound Settings.
Or, you can use iRingg to add voice memos to audio files to add more special features to your ringtones. You can even add other sound effects like fade-in, fade-out, and SndMoji. You can trim the voice memo or the entire file to any length you want. Then, you can easily send ringtones to your iPhone via Wi-Fi. You’ll see it above the default one in Sound Settings.
I’m sourav, from Kolkata. A tech lover and love to answer any tech-related queries. I just try answering all questions like my problem.